If there’s one thing I’ve learned recently, it’s that technology doesn’t always solve everything. Even though there are countless productivity and planning apps available, I realized that, for me, nothing beats the clarity and focus of a good old-fashioned paper planner. That’s when I decided to create my own DIY planner — entirely by hand, in my own way, and with a personal touch that no app could ever provide.
If you’re like me and want a simpler, more practical, and personalized way to stay organized — without relying on your phone, internet, or endless notifications — making a handmade planner might be the perfect solution. And the best part? It’s budget-friendly and incredibly satisfying to create.
Let me walk you through how I built mine step by step, and share everything I learned along the way. This guide is not just about how to do it, but about how to make it truly yours.
Why I Gave Up on Planning Apps
I started like most people: downloading a bunch of apps, hoping one would finally help me get organized. At one point, I had an app for tasks, another for habits, one for reminders, and another for journaling. But instead of helping, they overwhelmed me.
I was constantly switching between platforms, syncing data, customizing settings, and worst of all — dealing with daily notifications that interrupted my focus. It felt like I was working for the apps, not the other way around.
Then I realized that the act of writing things down — manually, thoughtfully, and in my own time — actually helped me retain information better. It became less about checking boxes and more about connecting with my time and priorities.
How I Built My DIY Planner (and You Can Too)
1. Choosing the Right Notebook
I started with what I had: a spiral-bound notebook. I liked that I could lay it flat, fold it back, and write comfortably. If you prefer more flexibility, a binder or disc-bound notebook is great because you can move pages around and add new ones as needed.
Don’t worry about perfection. Use what’s available. The important thing is to get started.
If you’re looking for a more aesthetic touch, you can decorate the cover with fabric, stickers, or even paint. I used a piece of kraft paper and some washi tape to give mine a minimalistic look.
2. Setting Up Sections That Matter to Me
My planner has evolved over time. I started with a few basic sections and added more as my needs changed. Here’s what worked best for me:
- Monthly Calendar: A quick overview of the month, where I can plot important events, deadlines, birthdays, and other reminders.
- Weekly Pages: The heart of my planner. I use these to break my week down day by day, with sections for tasks, events, and notes.
- To-Do Lists: I keep ongoing lists for things like shopping, errands, and chores. It helps clear mental clutter.
- Goals & Milestones: I use this to track personal, financial, and health-related goals. I break them into smaller steps so I don’t feel overwhelmed.
- Habit Tracker: I track things like water intake, workouts, sleep, and screen time. It’s motivating to see patterns form over time.
- Brain Dump: A page where I can scribble random ideas, quotes, or thoughts — no structure, just a free space for mental clarity.
Weekly Planning: My Routine That Keeps Me Grounded
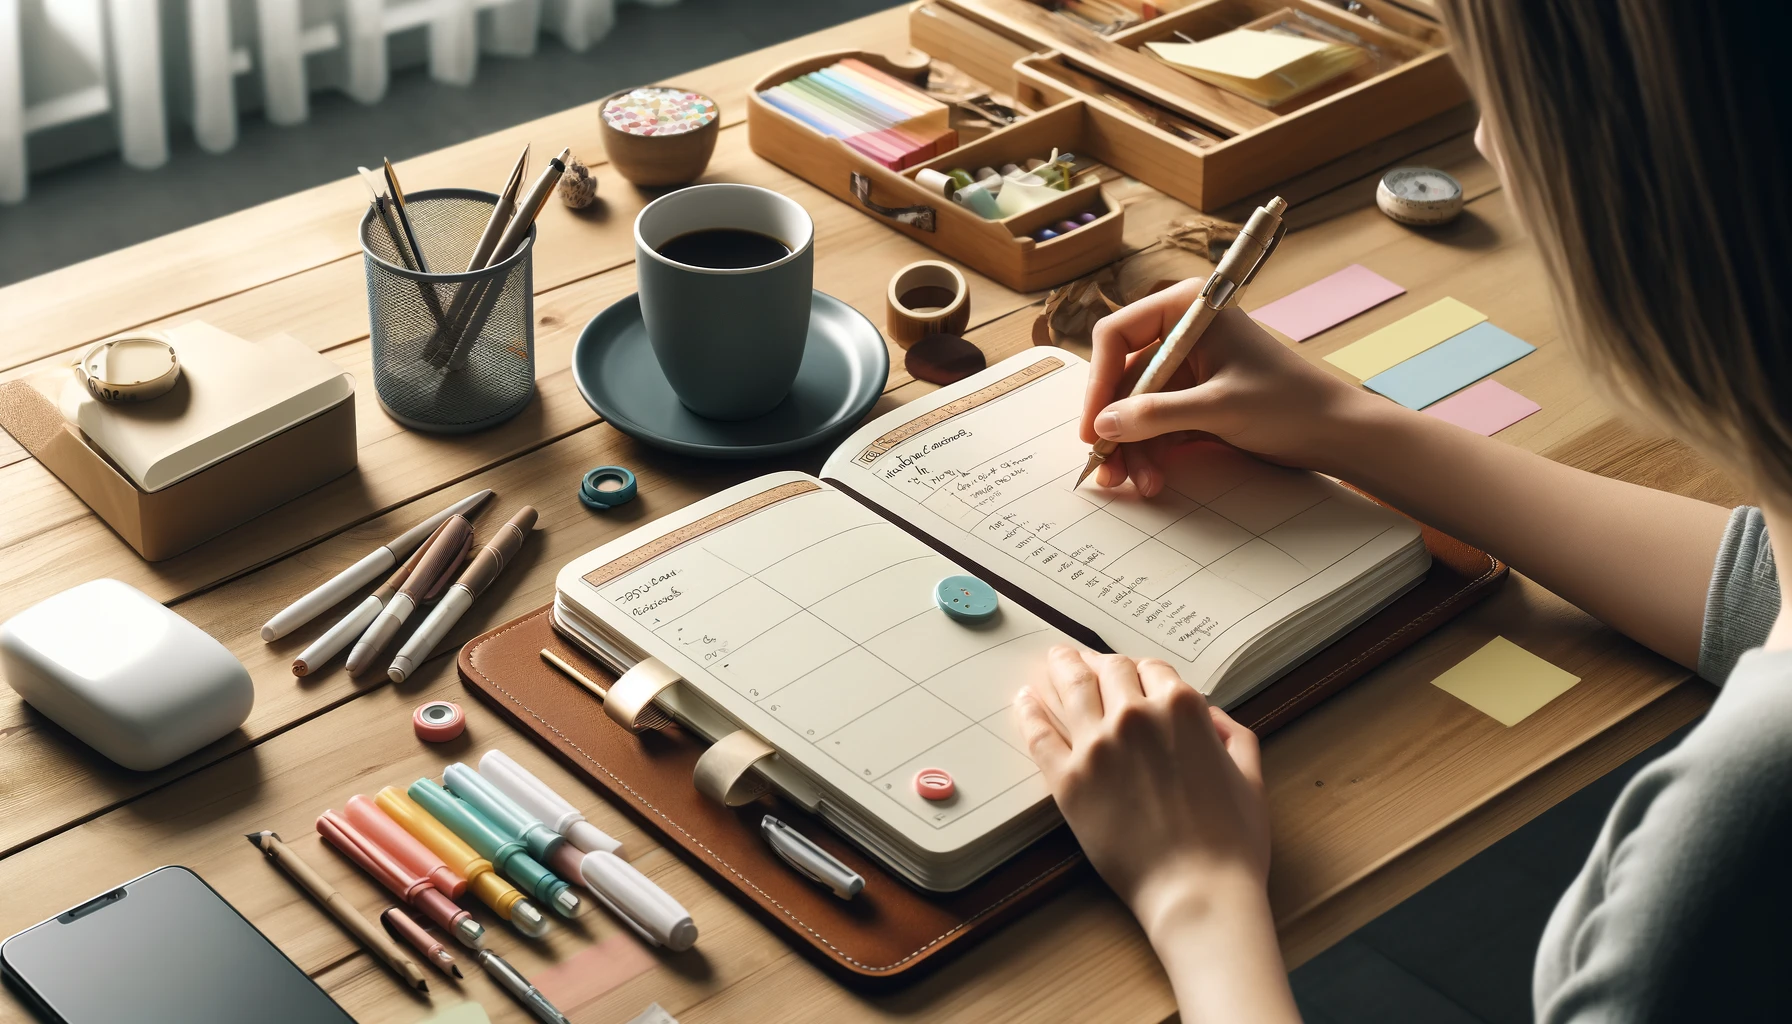
Each week, usually on Sunday evening, I sit down with my planner. I pour a cup of tea, light a candle, and spend 30 minutes planning my week. It’s become a ritual that brings calm and clarity.
Here’s how I do it:
- Review last week: What did I complete? What didn’t go as planned? Is there anything I want to carry over?
- Set intentions: I don’t just list tasks. I ask myself how I want the week to feel — productive, calm, joyful?
- Break down goals: If I’m working on something bigger, I identify one or two small actions to move it forward.
- Schedule with flexibility: I pencil in appointments and commitments, but I also leave space for unexpected things or downtime.
Color Coding and Decoration: Making It Fun and Functional
I genuinely believe your planner should feel like a space you want to come back to. For me, color coding made it easier to read and track what was going on.
Here’s the color scheme I use:
- Blue: Work and professional activities
- Green: Home and personal chores
- Pink: Self-care and relaxation
- Yellow: Social and family events
- Red: Urgent or high-priority tasks
I also add small stickers to mark birthdays, holidays, or just to make a page more cheerful. You don’t have to be artistic — it’s about making the space yours.
Additional Pages That Made My Life Easier
As I used my planner more, I realized I needed pages for things that didn’t fit into my weeklies. So I added:
- Monthly Budget Tracker: I write down income, fixed expenses, and spending goals. Seeing it on paper helps me stay accountable.
- Meal Planner: Planning dinners ahead has reduced food waste and grocery stress.
- Books & Movies List: A fun section where I jot down what I want to read or watch, and rate them afterward.
- Project Planning: I keep a space to outline new ideas or personal projects step by step.
These sections aren’t necessary for everyone, but they became tools that helped me feel more in control of my daily life.
Why a Handmade Planner Works Better for Me
Besides the obvious (no Wi-Fi needed!), my planner gave me something else: connection. When I open it, I see my real priorities, my real handwriting, my messy thoughts. It’s personal.
There’s something satisfying about physically checking something off a list. That little gesture gives me a sense of accomplishment and progress. It also reduces screen time and gives me a much-needed break from digital overload.
And even more importantly, it became a space for reflection — a small, private area where I could write down things I’m grateful for, frustrations I want to vent, or moments I don’t want to forget.
My Top Tips for Using Your Planner Consistently
- Keep It Accessible
I leave my planner in a visible place — on my desk or bedside table — so I remember to use it every day. - Start Small
You don’t need to plan every hour or have 10 different trackers. Start with one or two pages and build over time. - Make It Part of Your Routine
Tie it to a habit you already have. For example, I check mine while having morning coffee and again before bed. - Be Kind to Yourself
Missed a day? Skipped a task? It’s okay. The planner is here to support you, not pressure you. - Customize Constantly
Your life changes — so let your planner evolve too. I change layouts, add sections, or remove what’s not working.
Final Thoughts: My Planner Became More Than an Organization Tool — It Became Self-Care
Creating a DIY planner was one of the most grounding decisions I’ve made. It’s not about being productive every second. It’s about knowing what matters to me and having space to reflect on it.
It helps me feel calm in the chaos, focused when things get busy, and mindful even during routine tasks. It gave me back control — not through technology, but through a pen and a blank page.
So if apps and digital tools aren’t working for you, maybe it’s time to try something simpler. Grab a notebook, some colored pens, and just start. There’s no right way — only your way.
And trust me, it might just surprise you how powerful paper can be.