Having a clear view of my daily goals was the key to increasing my productivity and keeping my motivation high. I always knew that writing down my goals was important, but over time, I realized I needed to visualize those goals in a more impactful way. That’s when I came up with the idea to create my own organization board. This board became the solution to help me remember what needed to be done every day and became an essential tool to help me reach my daily objectives.
In this article, I’ll show you step-by-step how you can create your own visual organization board to track your daily goals, just like I did. If you’re someone who needs something tangible and visible to stay focused, this technique can transform the way you manage your tasks and achieve your goals.
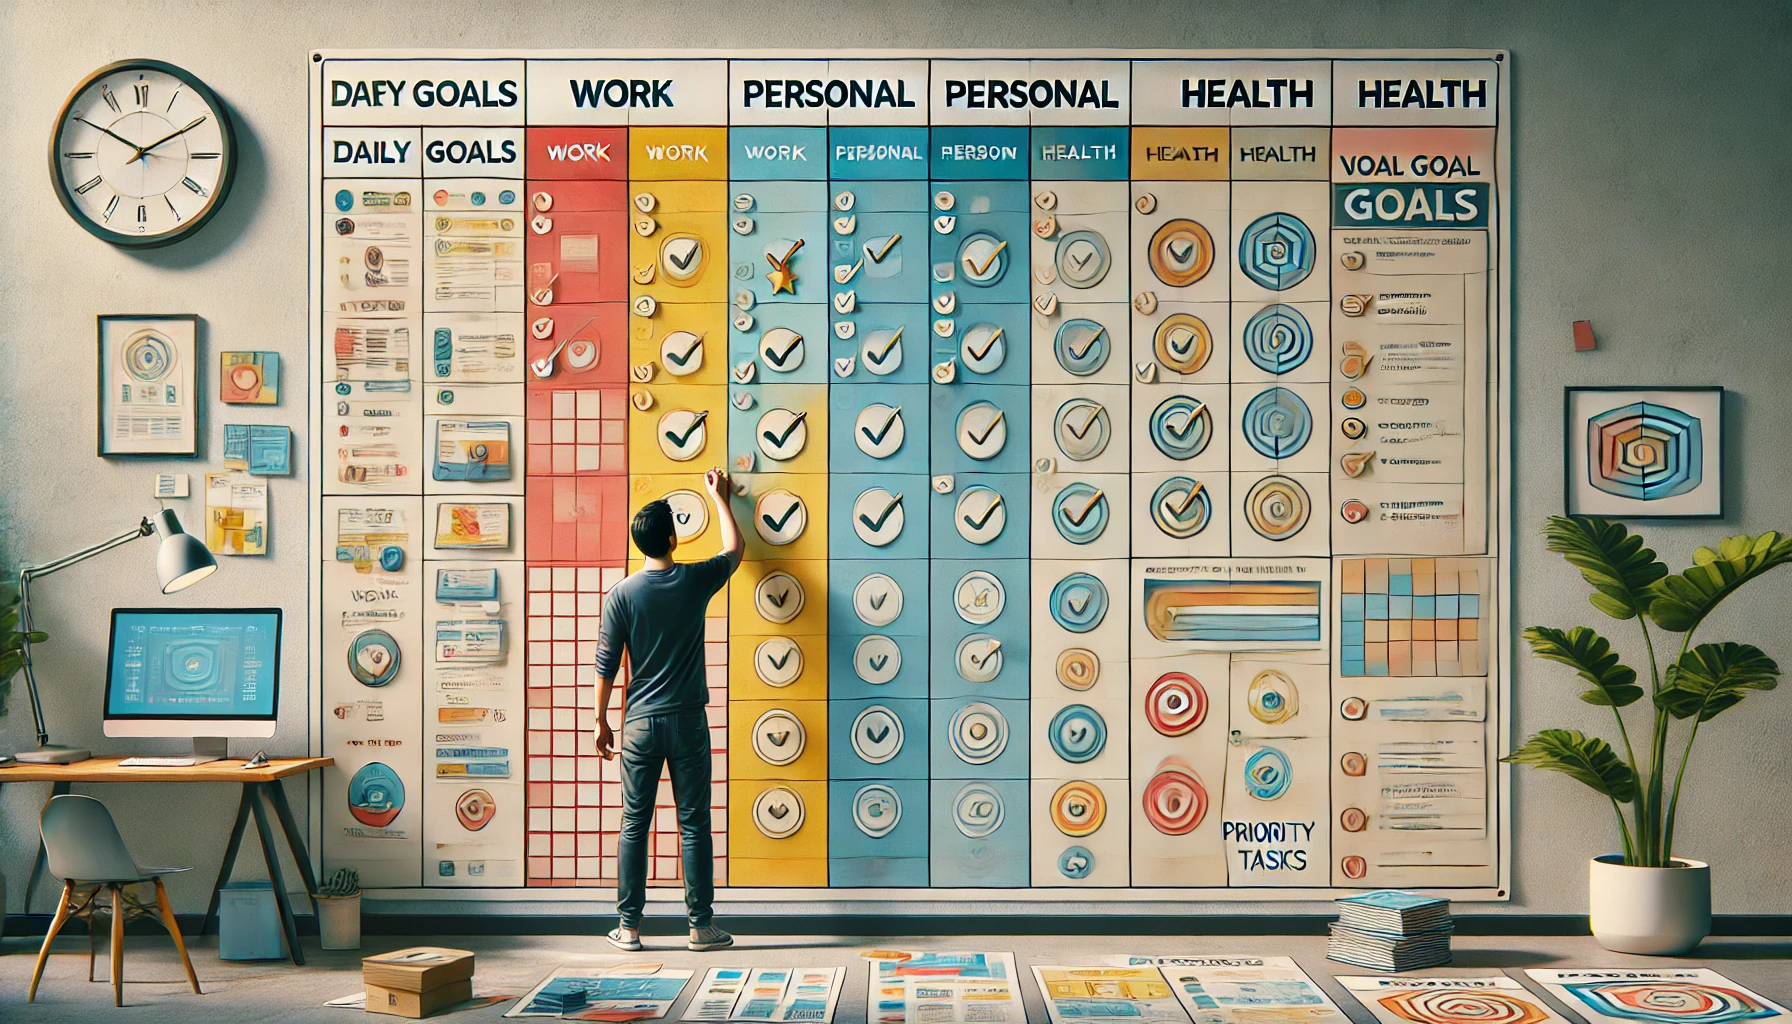
How to Create a Visual Organization Board for Daily Goals
1. Choose a Visible Location for the Board
The first step I took was to choose a strategic and visible location for my organization board. I knew that to remember my goals every day, I had to place it somewhere I would frequently pass by. After thinking it over, I decided to place the board on the kitchen wall. It was a place I walked by several times a day, and every time I glanced at the wall, I saw the goals I needed to accomplish. This helped me stay focused and follow through with my plan consistently.
Tip: If you don’t have a location in the kitchen, look for a place where you spend a lot of time throughout the day, such as near your work desk, in the hallway, or even next to your bed. The key is to choose a spot you frequently pass by, so you are constantly reminded of your goals.
2. Define Your Daily Goals
Before starting to create the board, I needed to clearly define my daily goals. I thought about the tasks I needed to complete that day as well as the ones that would help me reach my long-term objectives. I knew the key to being productive was not to overwhelm the board, so I started with a simple list of 5 to 7 goals for the day. Over time, I realized that this approach worked great because it allowed me to focus on the most important tasks without getting lost in a sea of activities.
Tip: Don’t try to put together a long list of goals. If you have a lot to do, try grouping them into categories. This will help avoid feeling overwhelmed and keep your mind focused. Remember: less is more.
3. Use Colors and Symbols to Categorize the Goals
To make the goals more visible and easier to understand, I decided to use a color code. Each type of goal received a specific color. For example, work-related goals were written in blue, leisure tasks in green, and health goals in orange. Additionally, I used simple symbols to highlight the priority of certain tasks. A star symbol, for instance, meant a high-priority task, while a checkmark indicated that the task had been completed.
Tip: Don’t be afraid to use colored pens or markers. Colors help highlight the most important tasks, making them easier to visualize. If you find it useful, you can even use stickers or icons to make the board more dynamic and easier to understand.
4. Create Goal Sessions for Each Part of the Day
One of the best things I did was organize the goals into different parts of the day: morning, afternoon, and evening. This helped me visualize better what needed to be done and allowed me to plan my time more efficiently. I knew that mornings were when I had the most energy, so I would place the most challenging or important tasks early in the day. This gave me a better focus and helped me accomplish those activities with more energy.
Tip: If possible, reserve mornings for the most important tasks or those that require more energy and focus. This creates a positive momentum right at the beginning of the day. As the day goes on, you can place simpler tasks, like leisure activities or less demanding chores.
5. Add a Space for Review and Updates
A crucial part of my board was the daily review section. At the end of each day, I would go over the board to see what I had accomplished and what was still pending. This moment of reflection helped me stay focused and adjust my goals for the next day. Additionally, I created a section called “Achievements of the Day,” where I would write down the goals I had completed. This gave me a sense of accomplishment at the end of the day, as I could clearly see what I had achieved.
Tip: Reserve 5 to 10 minutes at the end of each day to review your goals. This moment of reflection helps you stay on track and adjust what’s necessary. The sense of completion at the end of the day can be a big motivator for the next day.
Benefits of Using a Visual Organization Board
Clarity of Goals
The biggest benefit of using a visual organization board was, without a doubt, clarity. Before I had the board, I used to write my goals down on loose lists and notes, but this didn’t give me a clear view of what needed to be done. With the board, the goals became more tangible and real, and I could clearly see what needed to be accomplished at any given moment during the day. This helped me stay focused and motivated, as I always knew what the next task was.
Reduced Stress
Another benefit I experienced from using the board was reduced stress. Before, when I tried to keep all my tasks in my head, I would become overwhelmed. I felt like I was constantly trying to remember something, which generated anxiety. With the board, I could organize everything in one place, which brought a sense of relief. I didn’t have to worry about forgetting something important.
Increased Motivation
Moreover, the simple act of crossing off completed tasks was extremely motivating. Every time I checked off a task, it gave me a sense of accomplishment and pushed me to keep working on the next ones. This positive cycle of achievement kept me engaged throughout the day, which significantly boosted my productivity.
Tips for Creating Your Own Goal Board
1. Keep the Board Simple
Don’t overwhelm the board with too many goals. The idea is to have a clear view of your priorities, so if you put too many tasks, you risk losing track. Instead, focus on the most important and relevant goals for your day.
2. Review and Adjust as Necessary
The daily review is a critical step to ensure you stay on track. By reviewing the board every day, you have a chance to adjust your goals based on how tasks are progressing. This helps you stay focused and motivated.
3. Be Creative and Personalize the Board
Use colors, stickers, symbols, and even drawings to make the board more interesting and motivating. Customizing the board according to your preferences makes the organization process more enjoyable and even more effective. By making the board unique, you will feel more connected to it.
Conclusion
Creating a visual organization board to track my daily goals was undoubtedly one of the best decisions I made to improve my productivity and focus. By using a simple yet effective system, I was able to visualize my goals in a clear and direct way, which helped me stay focused and motivated to achieve them. If you also need a more visual way to track your daily goals, try this technique. I’m sure it can greatly improve your routine and help you reach your goals more efficiently and organized.
Remember, the key to success is consistency and focus. A visual organization board won’t solve everything overnight, but by making it part of your daily routine, you’ll start to notice positive changes in your productivity and well-being. Don’t wait any longer! Start creating your board now and see the results for yourself.
Want to continue learning how to organize better without technology? Continue here