If you are like me and feel that organizational apps don’t work or even think that technology ends up hindering rather than helping your routine, you are not alone. For a long time, I felt the same way. I tried several apps and digital methods, but in the end, they just caused more distractions and worries than solutions.
That’s when I decided to try something simple and visual, without relying on electronic devices: a manual organization system based on colors. Instead of being stuck in apps and notifications, I started using colorful pens, post-its, and a simple paper board to organize my week. And to my surprise, it made all the difference.
In this article, I will share with you how I created my own weekly organization system using a simple color-coding method. If you also want a practical, no-tech way to organize your days, you will definitely find these tips useful and inspiring.
The Importance of Organizing Your Week Manually
Nowadays, it is almost impossible to escape the constant presence of apps and digital devices. Although they offer a variety of tools and options for organizing our lives, many times the sheer volume of information and the speed at which everything happens ends up generating more anxiety than productivity. That’s why I decided to go back to basics and adopt an organizational method that not only worked but also provided me with a sense of control and accomplishment.
How to Organize Your Week Using a Color-Coding System on Paper
1. Choose a Set of Colors
The first step I took was to choose a set of colors to represent the different categories of activities I had throughout the week. I didn’t want something too complicated, just something easy to visualize and functional. So, I decided to use a few basic colors for important categories.
For example, I used blue for work-related commitments, green for personal activities, red for urgent tasks, and yellow for social commitments or special events. The idea here was that, by quickly glancing at my board, I could instantly identify what I needed to do in each area of my life without needing to dig through a huge list of tasks.
Tip:
Choose vibrant colored pens or markers. The colors should be visible enough to help you distinguish categories from a distance. Also, you can use the color-coding system to highlight special events or appointments.
2. Create a Manual Weekly Plan
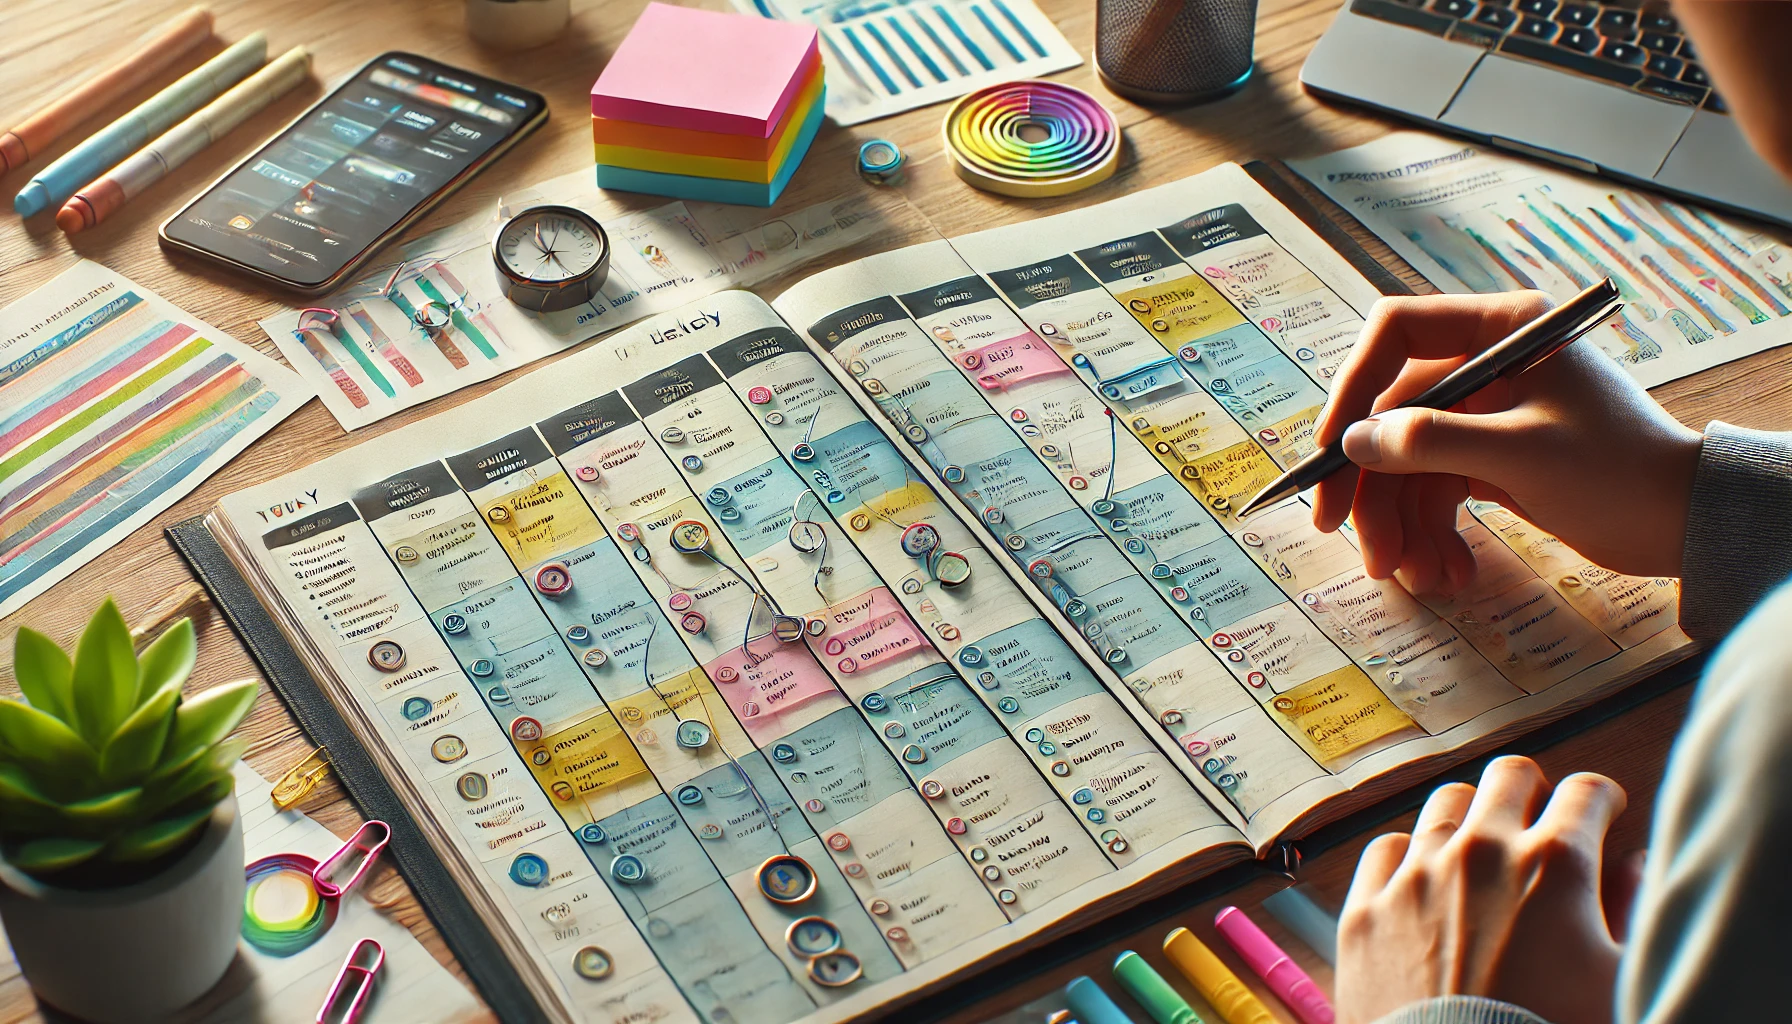
With the color-coding system defined, the next step was to create a weekly planning board. I preferred doing this in a notebook or piece of paper, but you could also use a large poster or whiteboard, depending on your preference.
In my case, I opted for drawing a simple grid with the days of the week listed horizontally and the tasks listed vertically. In each cell, I wrote the activities scheduled for that day, using the colors defined for each category. For example, if I had a work meeting scheduled for Tuesday, I would write “Meeting” in blue. If it were a personal activity like “Yoga”, I would write it in green. This helped me clearly see how my week was laid out.
Tip:
If you prefer, you can use a larger sheet of paper or poster board to have a wider view of the week. This makes it easier to visually plan and gives you more space to add information. If you need something more compact, a notebook or planner also works well.
3. Visual Notes to Make Understanding Easier
One of the most interesting parts of this system was introducing visual notes. Instead of simply writing words or tasks, I started adding simple drawings and icons to represent some activities. For example, to remind myself I needed to go grocery shopping, I would draw a fork and knife. For activities related to reading, I would draw a book.
These little drawings helped make the planning more dynamic and even fun. They also served as a visual cue, reminding me of tasks in a more intuitive and creative way.
Tip:
If you’re not good at drawing, don’t worry! You don’t need to create masterpieces. Sometimes, a simple line or circle works just fine. The key is to ensure you can easily understand what each symbol means.
4. Use Post-its for Flexibility
One of the biggest advantages of this paper-based organization system is the flexibility it offers. Some tasks are flexible and can change days, so for these situations, I started using colorful post-its.
I wrote tasks on post-its and stuck them on my weekly board. When something needed to be rescheduled or postponed, it was just a matter of moving the post-it to another day. This added flexibility to my organization without the rigidity of a fixed calendar. The post-its, with their bright colors, kept the visual code intact.
Tip:
Use post-its in different colors to maintain consistency in your system. This helps you move tasks around while keeping everything organized and visually consistent.
5. Daily Review and Adjustments
Another essential aspect I adopted was a daily review. Every day, before starting tasks, I would take a quick look at my board. Sometimes, I needed to adjust or reorder tasks because unexpected things came up or some tasks became more urgent.
This daily review helped me stay on top of my routine and mentally prepare for the next day. The simple act of adjusting the board gave me a sense of control and organization.
Tip:
Take 5 minutes at the end of each day to review your plan. Adjust tasks as needed. This simple habit helps clear your mind and prepares you for what’s next.
Benefits of Using a Color-Coding System on Paper
Over time, I realized that the biggest benefit of using this color-coding system was the visual clarity. With each glance at my planning board, I could immediately identify which tasks were most urgent and which ones could wait. The colors helped create a mental hierarchy of priorities, while also making the planning process much simpler and less stressful.
Another important benefit was the pleasure of crossing tasks off or moving them to the “done” side. Each task I completed felt like a small victory, which increased my motivation to keep going.
Tips for Creating Your Own Color-Coding System
- Don’t use too many colors: To avoid overwhelming the visual plan, choose 3 to 5 colors. Each color should represent a specific category, and using too many can make the visualization confusing.
- Be consistent: Use the same colors every day. This helps create a mental association between each color and task type. Over time, you’ll get used to it, and you’ll know exactly what each color represents.
- Make adjustments as necessary: If a color isn’t working for you, change it. The system should be flexible and adapt to your routine. The key is to keep it simple and effective.
Conclusion
Adopting a weekly organization system based on colors was one of the best decisions I made for organizing my routine without relying on technology. The visual clarity and simplicity of this method helped me stay focused and increased my productivity—all without needing an app or electronic device.
If you’re also looking for a more practical and humanized way to organize your week, give this technique a try. The combination of colors and post-its can transform your planning and help you achieve your goals more efficiently and enjoyably.
Why not give it a shot? The simplicity of a paper-based board can be more powerful than you might think.